The most common signal booster mounting mistakes are placing the outdoor antenna where the cable run is easiest instead of where the signal is strongest, getting the antenna’s orientation wrong, leaving too little separation between the outdoor and indoor antennas, and leaving an outdoor connector unsealed against weather. Every one of these can produce a booster that seems to be working, technically running, lights on, but delivering far less than it should, without ever throwing a fault. That is what makes mounting mistakes different from a broken unit: nothing tells you it happened. You just get a mediocre result and assume that is what the product does.
Mistake 1: Mounting Where the Ladder Reaches, Not Where the Signal Is Strongest
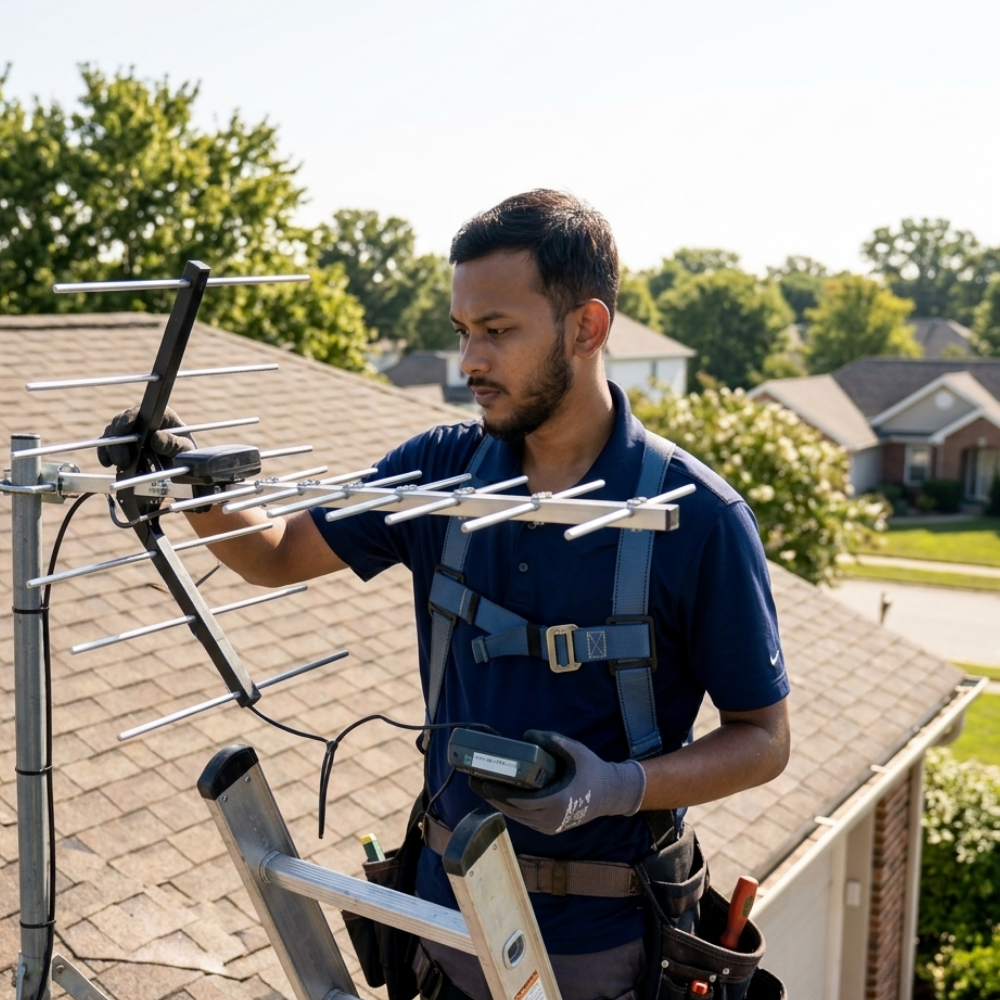
The single most common mistake is choosing the outdoor antenna’s location based on convenience: the spot closest to an existing cable path, the easiest wall to drill, the corner nearest the electrical panel. None of that has anything to do with where the outdoor signal is actually strongest, and a booster can only amplify what its outdoor antenna hands it. A mediocre outdoor location produces a mediocre result no matter how good the rest of the install is.
The fix is to measure before you drill anything. Take a real dBm reading, not a bars count, at two or three candidate spots (different corners of the roof, different exterior walls) using the method in how to check your dBm signal strength, and mount where the number is actually best, even if that means a longer cable run.
Mistake 2: Getting Antenna Orientation Wrong
Directional outdoor antennas need to be aimed at the nearest usable cell site, not simply pointed up or mounted flat against a wall. An antenna aimed at open sky or at the wrong side of the building is not doing the job it was designed for, even if it is mounted high and looks correct. Some indoor MIMO antennas also expect a specific orientation relative to the ceiling or wall rather than an arbitrary angle, and mounting one “straight up and down” when the manual specifies otherwise can measurably reduce what it delivers. Check your specific unit’s manual for its intended orientation before you commit to a final mounting angle, and confirm the outdoor antenna is actually facing a direction with usable signal, not just a convenient wall.
Mistake 3: Not Enough Separation Between Outdoor and Indoor Antennas
This is the mistake that produces the most dramatic symptom: oscillation, where the two antennas hear each other and the booster shuts itself down or cuts in and out. It is also, ironically, one of the easier mistakes to catch, because the system tells you about it. What is harder to catch is a system with just barely enough separation to avoid a hard shutdown but not enough to run at full stable gain, which looks like ordinary underperformance rather than a fault.
The required separation is not a single universal number. It depends on your amplifier’s gain and both antennas’ gain and pattern, and the manufacturer’s published minimum for your specific kit is the figure that applies to you. We cover the full mechanics, including why vertical separation with a roof and ceiling in the path buys more isolation per foot than horizontal distance across open air, in antenna separation distance: what actually prevents feedback.
Mistake 4: Ignoring Line-of-Sight and Obstructions Behind the Antenna
A directional antenna aimed correctly on paper can still underperform if a chimney, a neighboring roofline, or dense tree cover sits directly in its path to the tower. This is easy to miss when you are standing on a ladder focused on the mount itself rather than what is actually between the antenna and the signal source. Walking the roofline and checking sightlines before finalizing a mount location catches this before it becomes permanent. It is also part of a broader decision that deserves its own attention: whether the antenna belongs in the attic or on the roof at all, which changes how much obstruction and material sits between it and the signal. We cover that decision separately in attic mount versus roof mount.
Mistake 5: Weatherproofing Failures at the Outdoor Connector
Any connector exposed to the elements needs to be properly sealed, typically with self-fusing tape or a weatherproofing kit over the connection point. Water intrusion at an outdoor F-connector or N-connector corrodes the contact over time and can erase several dB of signal well before it fails outright, so the symptom shows up as a slow performance decline rather than a sudden failure. This is one of the few mounting mistakes that gets worse with time instead of being wrong from day one, which makes it easy to miss during the initial install and blame on something else months later.
Mistake 6: Coiling Excess Cable Instead of Managing It Properly
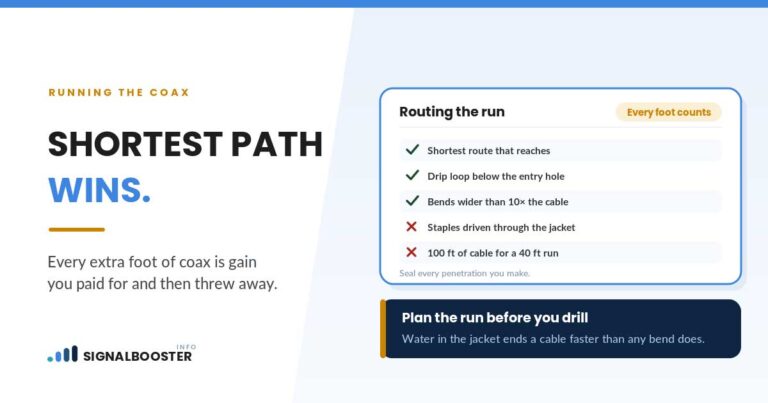
Leftover cable length is common on a real install; the cable run rarely comes out to exactly the distance needed. Tightly coiling the slack in a small loop, rather than a wider loop or a proper trim, adds unnecessary loss and, in some cable types, can stress the dielectric at the bend. It is a small effect on its own, but it stacks on top of whatever loss the cable length itself already costs, which we cover separately in coax cable loss, explained.
The Diagnostic Trick: Test Before You Commit, Not After
Here is what most mounting-mistake guides skip: a way to catch these problems before the antenna is permanently mounted, rather than diagnosing them afterward.
Before final installation, temporarily position the outdoor antenna (hand-held or lightly clamped, cable connected to the actual booster) at each candidate spot and take a dBm reading at that exact location, holding the antenna in roughly its final orientation. Do this at two or three plausible mounting spots before you drill a single hole. The spot with the best reading, not the most convenient one, is where the antenna goes.
Do the same for the indoor antenna’s rough position once the outdoor side is settled: temporarily place it, power the system, and check for oscillation warnings or fault lights before committing to a permanent mount. This turns “avoid these mistakes” from a checklist you hope you followed into a five-minute test you actually ran. It costs almost nothing next to the cost of remounting hardware later, and it is the same logic a technician applies before finalizing any install: measure, then mount, not the other way around.
| Mistake | How it shows up | How to catch it before mounting |
|---|---|---|
| Convenience placement | Underwhelming coverage, no fault indicator | Take dBm readings at 2-3 candidate spots first |
| Wrong orientation | Reduced gain, no fault indicator | Check the manual’s orientation spec; confirm aim toward usable signal |
| Insufficient separation | Oscillation warnings, cutting out | Test the antenna pair’s positions before final mount |
| Obstructed line of sight | Weaker-than-expected outdoor reading | Walk the sightline before finalizing the spot |
| Unsealed outdoor connector | Gradual decline over weeks or months | Weatherproof every outdoor connection at install time |
| Coiled excess cable | Small additional loss, easy to overlook | Trim to length or coil in a wide loop, not a tight one |
The Regulatory Note Mounting Guides Often Skip
One mounting decision has a compliance dimension, not just a performance one. Consumer boosters are certified as a complete system, and swapping in a different antenna than the unit was certified with, including a higher-gain one to compensate for a poor mounting spot, is not something the FCC’s rules permit for a certified consumer device. If your outdoor signal is weak enough that you are tempted to solve it with a bigger antenna, the better first move is a better mounting location, not different hardware. The full legal picture is in is a cell phone signal booster legal.
FAQ
What’s the most common signal booster antenna mounting mistake?
Choosing the outdoor antenna’s location by convenience, the easiest wall or cable path, rather than by measured signal strength. It produces a system that runs without any fault indicator while quietly underperforming.
Does antenna orientation actually matter that much?
Yes for directional outdoor antennas, which need to be aimed at usable signal rather than simply mounted high. Some indoor antennas also have a specified orientation in their manual, and ignoring it can measurably reduce what the antenna delivers even though nothing looks wrong.
How far apart should the outdoor and indoor antennas be?
There is no single number that applies to every install; it depends on your amplifier’s gain and both antennas’ specifications. Use the minimum separation published in your own unit’s manual as the floor, and prefer vertical separation with a roof and ceiling in the path where you can get it.
Can I catch a mounting mistake without remounting everything?
Often yes, if you catch it early. Temporarily positioning the antenna at candidate spots and taking real dBm readings before the final mount catches placement and orientation problems before they become permanent. Once mounted and sealed, testing gets more disruptive.
Will a bigger or higher-gain antenna fix a bad mounting location?
Not reliably, and for a certified consumer booster, substituting an antenna the unit was not certified with is not permitted under FCC rules. A better location for the same antenna almost always beats a bigger antenna in a poor location.